Thursday 5 June 2014

Hair Chalk!

I bought this box of hair chalks a year ago from a local deal site (can't remember which one though..) Only started to use it now as it became a trend.

This box came with a set of 24 colors. To be honest, 12 colors or less would be sufficient. 


I tested these hair chalks on Angie's hair. 
How to use? On dry hair, wet strands of hair that you want to 'color' with water. Then brush the chalk along the wet hair. This could go messy therefore using gloves would be ideal. You could either wait for it to dry (which might take forever..) or dry hair using hair dryer.
I used 3 colors (yellow, pink and green) on Angie's hair (which was originally dark brown) and tadaa.. this is the result!


This whole process took me bout an hour *phew* for waist length hair. Yup, its time consuming to 'highlight' the whole head. But I love the effect!
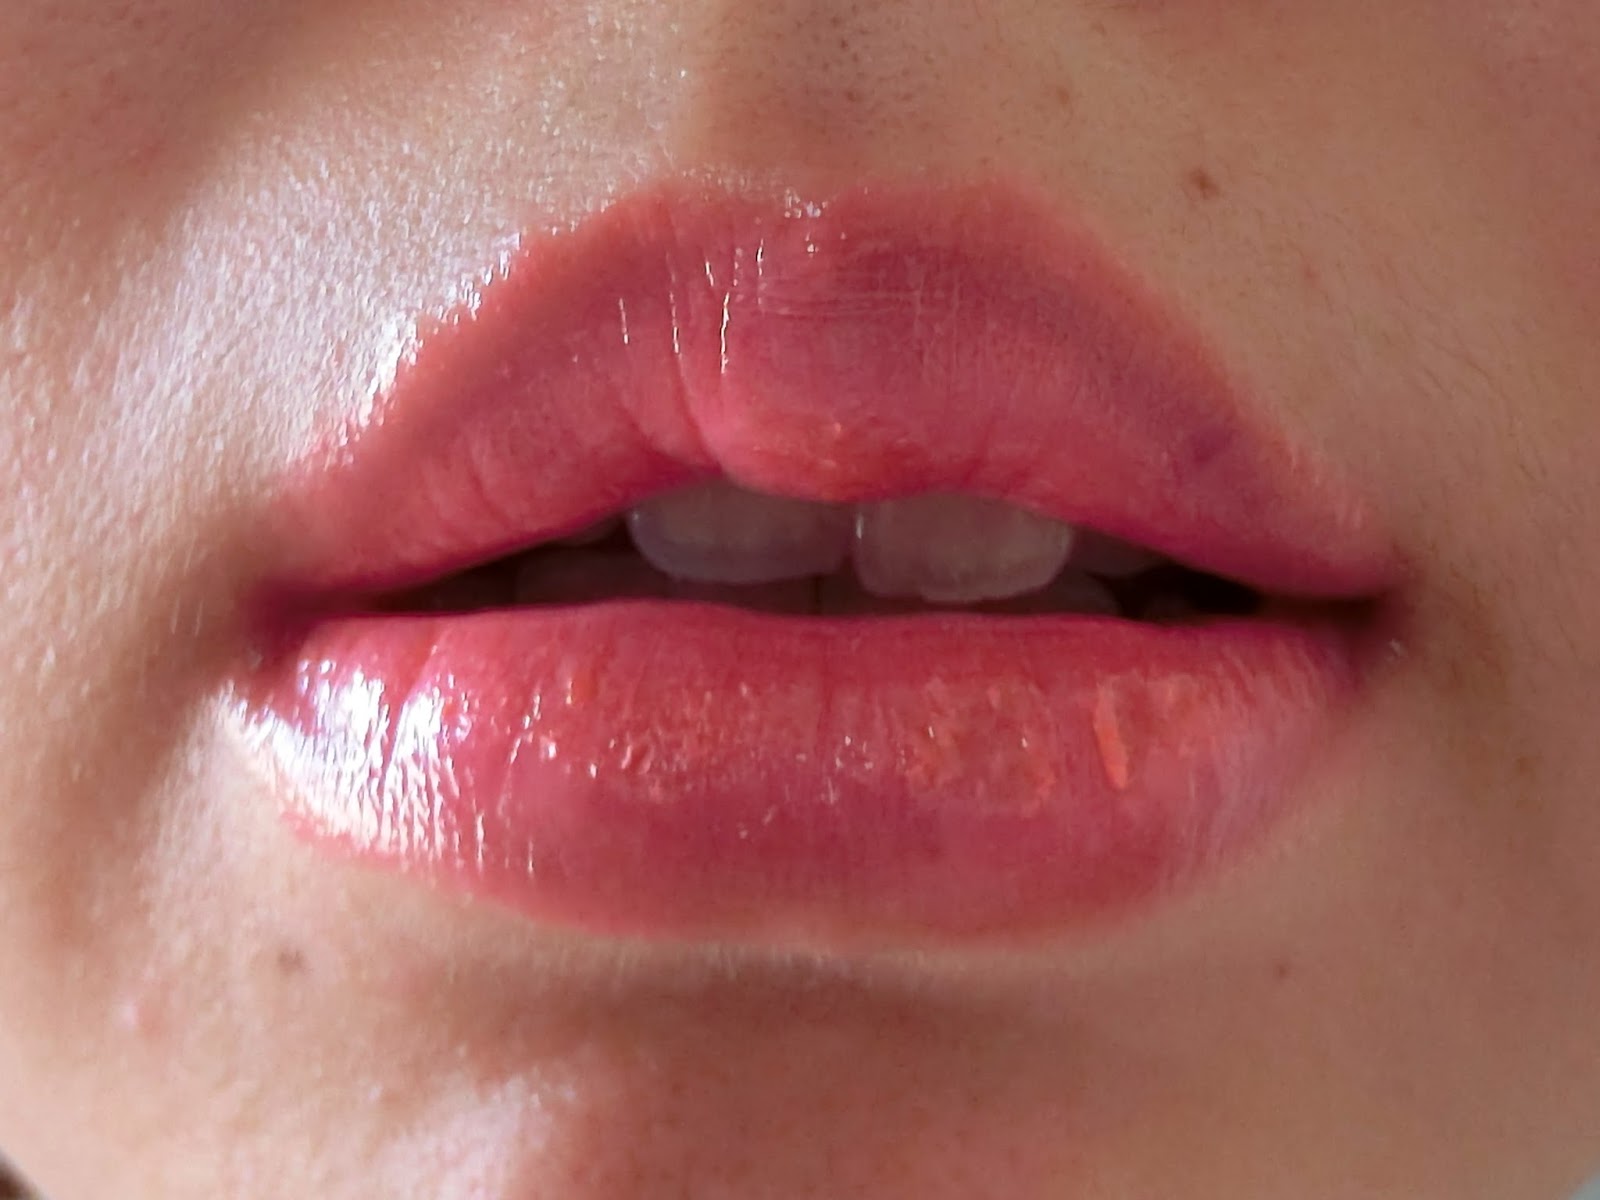
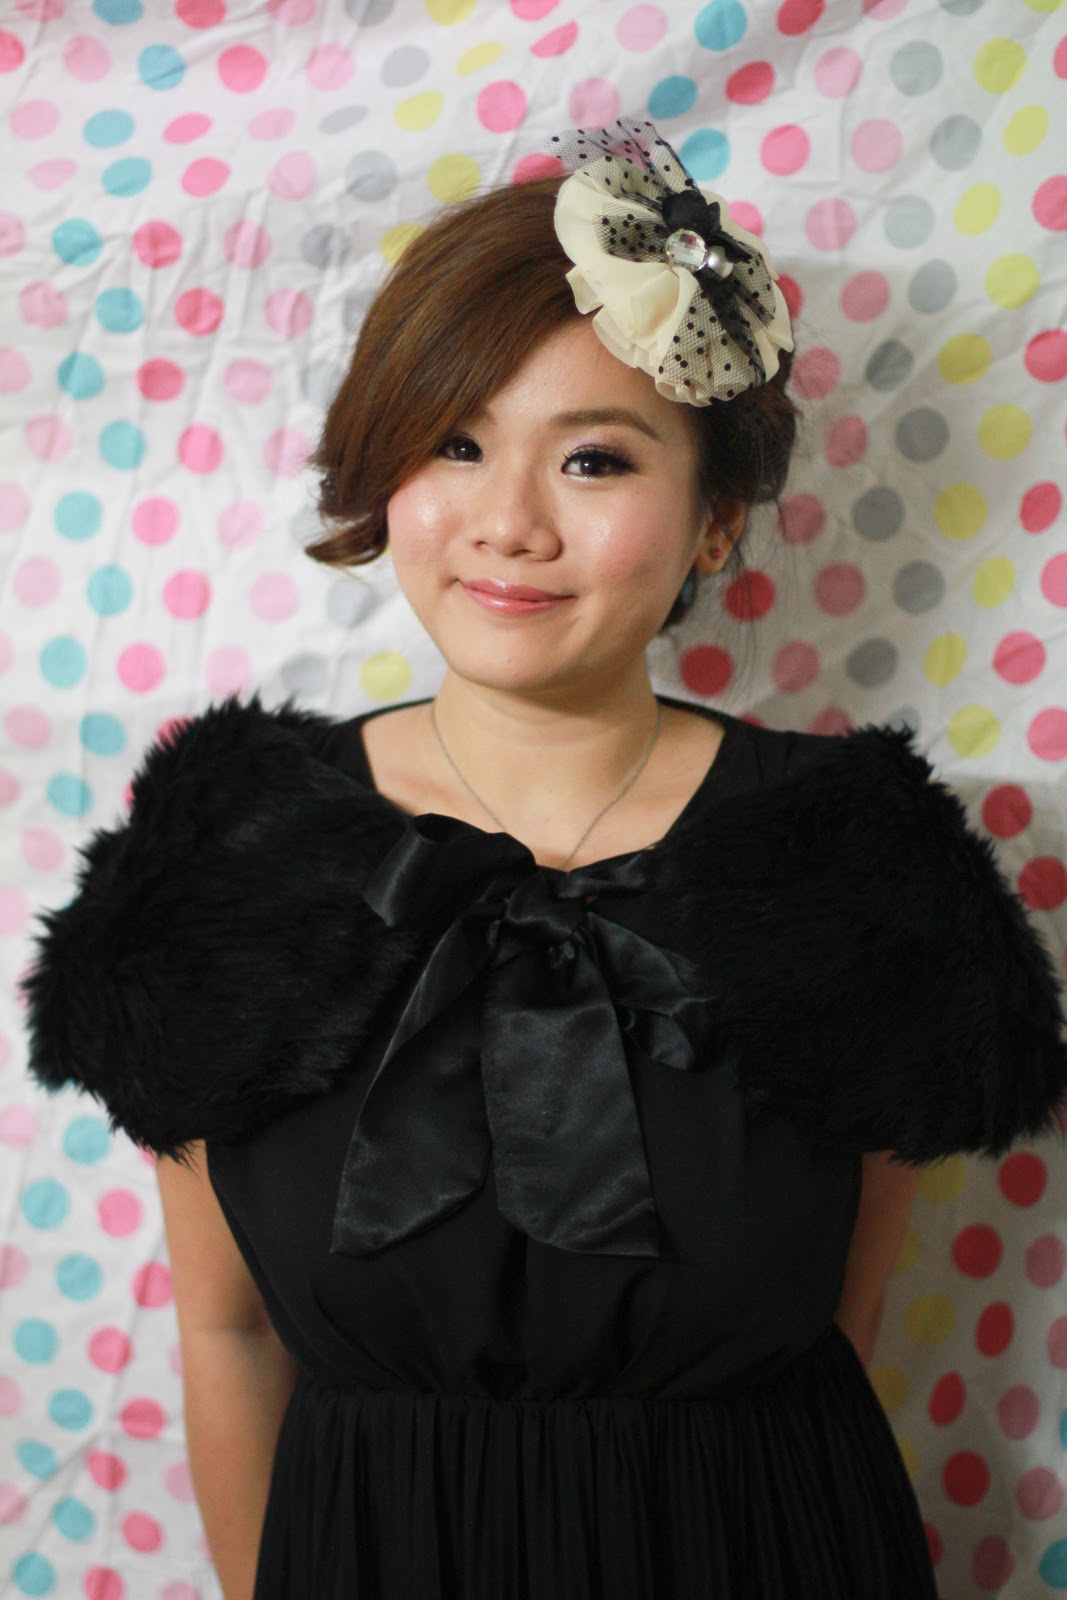
I apply strong eyeshadow and lip color on Angie and curl her hair into waves to achieve a bad girl look :


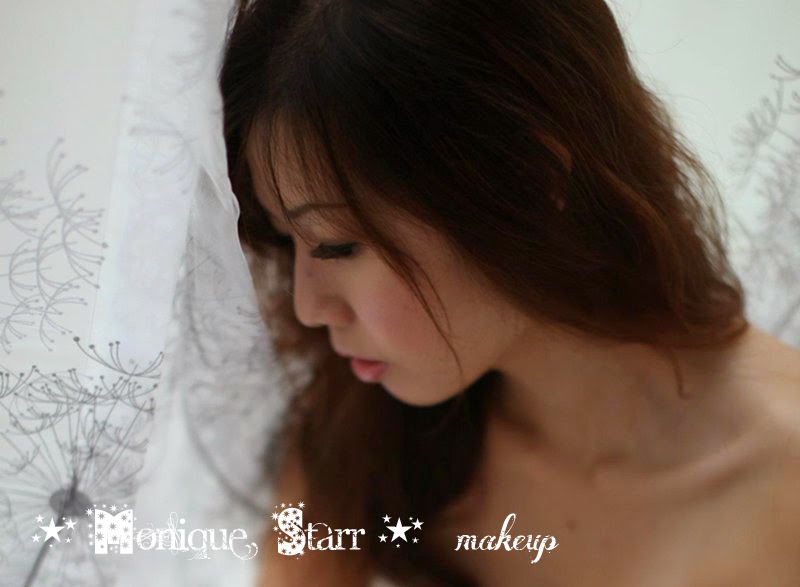
For the next look, I transformed Angie's eyeshadow and lip color to a more subtle, softer look and braided her hair. Looks like a good girl now! :P


Love both of the looks! Gorgeous! :)

Summary : It's fun experimenting with hair chalk, yet kinda messy if you want to apply by your own unless you decide to chalk few strands of hair. Hair becomes dry and coarse after 'chalking' but that will go away after wash.

Application is easier with eyeshadow-like palette (which is available now) that allows you to glide your hair through. I've just purchase these type of palette. Will share with you soon!

Do note that the results of hair chalk varies on different type of hair color.

Wednesday 4 June 2014

Too Cool for School , Bad Girl Good Girl review

Was looking for shoes at Robinson's (Midvalley Gardens) and a makeup booth caught my eyes. There were lots of cute packaging of makeup products at this Too Cool for School booth and I got to know that this brand came from Korea.

Eager to explore this new line of cosmetics - I wanted to try each and every product - really! as the packaging is really cute.

Since I am dying to get the oh-so-famous Korean gradient lips, I think this gloss could not go wrong (product imported from Korea was another plus point.)

After much thoughts, I got myself Bad Girl Good Girl in #2 Real Orange-Tint. Orange should be a more natural shade compare to red which was the other option.


There's 2 separate liquid in 1 stick - clear lipgloss and orange jelly tint.

I applied orange tint in the middle of my upper and bottom lips and clear lipgloss on my whole lips. This is how it looks like :


Love the color and glossy effect!

Yay : Easy to blend; Able to achieve gradient lips effect, Gloss looks glassy
Nay : Not cheap at RM72 per tube ; Tint has some weird/unpleasant scent

Clio Gelpresso Glow Tint Review

The product advertisement got me attracted for this lip gloss purchase.
After couple of testing, I got myself #1 Flat Pink


This is how it looks like after uncapping the cover. You need to twist the stick to get the gloss/tint from the plastic appliqué.


This is the effect on my lips using the plastic appliqué. I get uneven color and the gloss wouldn't blend on my lips. 


It looks better after I blend the tint with my fingers. However I find the gloss/tint pigmentation appears to be poor. It is not able to hide my slightly dark outer corner lips.


Summary : Regretted buying this tint T.T I don't like the color and it is not able to deliver the tint effect per advertisement.

Yay : Affordable at RM35.80 (bought it during promotion period at Watson)
Nay : Require to blend with fingers for smooth finish. Color pigmentation is poor and not lasting.

Let's get started!

OMG.. it's been ages since I write anything on my blog. Gonna restart my blog after 2 years!! 
Stay tune for my makeup diary and products review! :)

Sunday 19 August 2012

Starr Hologram - Jojo

Night makeup for Jojo - I used purple eyeshadow

 Jojo & Me!
 More lovely pics..